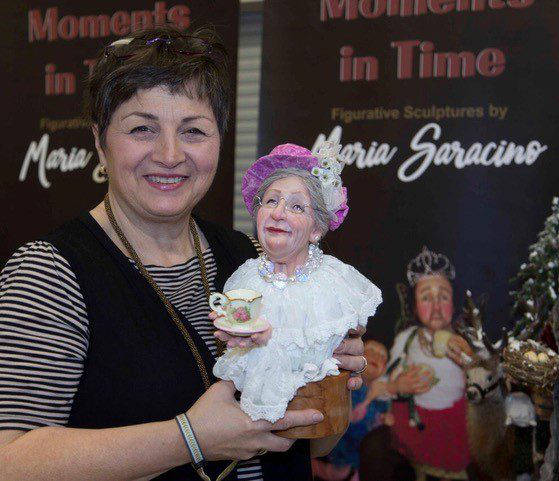
As a new member of the Sculpey Design Squad I am very excited to be this month’s blogger and I hope I can bring something new to the community. My name is Maria Saracino and I am a figurative doll artist. My style of sculpting is realistic with an element of whimsy. My sculptures are often described as “Norman Rockwell-ish” moments in time. I strive to capture emotion and movement and allow the audience to create the story as it relates to them.
Here’s an example with “Lunch in the Park”. 10”H x 25”L x 7”D; Living Doll, wood, wire, textiles

I’ve been sculpting for over 23 years and have been teaching for the last 5. I use Super Sculpey and Living Doll exclusively. If you’ve always been curious about sculpting a human face or figure then stay tuned this month. I’m going to share some of my tips and tricks as well as some of the guidelines and templates I use in my workshops.
One of the biggest challenges for my students who have never sculpted a human figure before is figuring out proportion. Facial proportion, body proportion, hands, feet – it doesn’t matter which part of the face or body we are discussing, the question is always how to scale things down to the size you are working on. There is a little math involved, but it’s pretty basic.
Below is a template I give all my students. It’s an excellent guide to help you map out a facial sculpt.

Before we go any further, I want differentiate between sculpting a face or sculpting a whole head. The face is the front area between the chin and the hairline, whereas the head is the whole 3D skull. On a life size human, the head usually extends 3” above the hairline. It’s important to consider this when preparing your base or skull otherwise your sculpture will look distorted. There’s another reason these dimensions are important and you’ll see why as you continue reading.
I use aluminum foil to create the armature for my head and I cover the whole thing with a layer of polymer clay that I’ve put through my pasta machine on the thickest setting. This becomes the underlying skin and what you build on. It is on this layer that I start mapping the face by lightly scoring the clay as shown in the template. As you can see (pun intended), the eyes sit smack on the centre horizontal line and about one eye width apart. The centre vertical line keeps your nose aligned and helps you map the face symmetrically on both sides. The centre vertical line on the profile gives you a guideline as to where the ears should go and the correction position of your dowel or neck support. If you follow this template there’s no question where the nose ends or where the mouth should be. The rest is practice – the more you sculpt, the better you get. Here are some photos of a work in progress done in Living Doll, fairy color.


When I create a new sculpture, I always sculpt the head, hands and feet first. Then I figure out the body based on these parts. I’ll talk about body proportion next week, but today I want to tell you my rule for getting hands and feet the right size.
It’s very simple, and it works every time . . . hands are more or less the size of your face . . . feet are more or less the size of your head. Follow this rule and your character will always be perfectly balanced.
Next week’s blog will be about scaling the body and how to map a standing figure versus a sitting figure.
