Perhaps you’ve dreamed of a beautiful necklace that you can’t seem to find anywhere. Or maybe you want a fun activity for kids that lets them create sentimental projects. No matter who’s creating, DIY polymer clay necklaces provide endless possibilities. You can create the necklaces you’ve only imagined before, and let kids craft fun, personalized jewelry to give as gifts or wear themselves. But where do you begin?
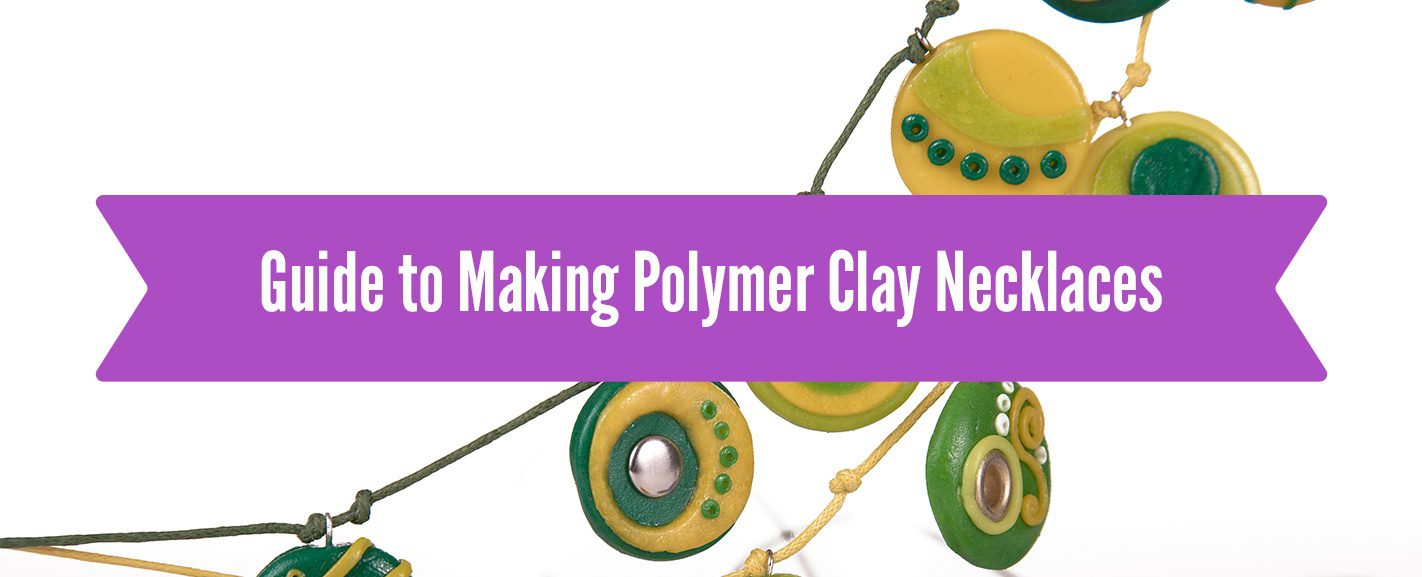
We’ve gathered the information you need to learn how to make necklaces below. Consult this guide to making polymer clay necklaces to find everything from tips and tricks to inspiration.
What Do You Need to Make Polymer Clay Necklaces?
Before you begin crafting DIY polymer clay necklaces, you have to gather your supplies. For basic projects, you’ll need clay, your household oven or toaster oven, an oven-safe work mat and a clean work surface. If your project is more complex and you want to try different clay tools, you could use:
- Clay rollers: To cut shapes out of a sheet of clay, you’ll need to roll it out. You can use an acrylic roller to work by hand or a clay conditioning machine that rolls the clay out to your desired thickness.
- Cutters: Use cutters as an easy way to create your desired shape from sheets of clay. With a cutter, you simply press the tool into the clay to create the shape. Cut away the excess clay to reroll and reveal your pendant or charm.
- Molds: Create cabochons or pendant charms with oven-safe molds. Get the exact shapes you want for your necklaces by filling molds with liquid or solid clay and baking as directed. Using a mold helps you recreate the same shapes consistently.
- Texture sheets: Add intricate details to your clay with texture sheets. Press a texture sheet into clay, rolling it with a roller if you’re working with a full sheet of clay. Textures help hide imperfections in your clay and add stylish or fun details.
- Sculpting and modeling tools: To sculpt pendants or add details into beads, use clay sculpting and modeling tools. Use them to carve or etch details, round the edges of your cutouts or add texture to your clay.
- Bead making tools: For beaded necklaces that show off fun colors and shapes, use bead making tools. A bead maker helps you craft perfectly rounded beads. Skewer them into a bead baking rack to cure many beads at once.
You’ll also need jewelry hardware to assemble your pieces. To turn your clay projects into necklaces, get these supplies and tools:
- Wire cutters
- Round-nose pliers
- Flat-nose pliers
- Hand drill for jewelry making and assorted bits
- Industrial glue
- Beading cord or thread
- Jewelry chain
- Assorted clasps
- Assorted jump rings
- Assorted eye pins or screw eyes
- Assorted headpins
In addition to clay and necklace supplies, other things like craft knives and parchment paper will come in handy. Use baby wipes for cleaning your hands and clay tools, and get zip-top bags to store your clay when you’re done.
What Type of Clay Should You Use to Make Polymer Clay Necklaces?

Because you or someone else will be wearing your creations, you want them to be durable. Use quality clay from us at Sculpey® and pick from our range of products to get the right material for your necklace creations, like:
- Sculpey Soufflé™: Sculpey Soufflé™ clay is lightweight, making it comfortable to wear, even with larger jewelry designs. This polymer clay is also simple to bend and shape. While it is lightweight, it’s strong enough to capture and maintain fine details you put into it. You’ll find an array of colors to select from, and whatever you create will have a soft, matte finish unless you seal it.
- Sculpey Premo™: The Sculpey Premo™ clay also comes in an array of colors. It’s strong and flexible, making it excellent for jewelry making. It’ll hold the details you put into it because it’s firm, but it’s also soft and easy to work with.
- Sculpey® III: Our Sculpey® III clay is a good choice for thicker jewelry pieces and should not be used in thin applications. It maintains intricate details and textures well, making it ideal for different necklace creations. This clay comes in a range of colors, from vivid brights to subtle, natural shades.
- Liquid Sculpey®: Our liquid polymer clay is a versatile product you’ll want to have on hand for making a necklace. Add drizzle details to pendants, fill molds, seal beads or attach uncured pieces of clay together with this product.
How to Prepare to Make Polymer Clay Necklaces
Once you get the tools, clay and other supplies you need, it’s time to prepare for making your necklaces. Getting your work area prepped can save you time and trouble once you start crafting, so follow these steps:

1. Prepare Your Work Surface
When crafting with clay, you want an adequate space to work on. To prepare your surface, use these tips:
- Clear a flat work surface, whether it be a table or a desk.
- Wipe the surface down and make sure it’s free of dust, pet hair or other debris.
- Protect your work surface with parchment paper or an oven-safe mat.
- Protect surfaces with a glass, plastic or another material cutting mat if you plan to cut the clay.
A clean and protected work surface is essential. Clay can pick up any debris on your table, ruining your future creations. A protected work surface also means you won’t risk damaging your table or desk with clay or your tools.
2. Gather Your Supplies
Once you’ve cleaned your workspace, get your supplies together. How you set up your area will depend on how you like to craft and who’s crafting. If you’re making clay necklaces with kids, you’ll want to keep sharp tools and hobby knives out of the mix, for instance.

3. Have Your Idea
You might have some sort of vision for your DIY polymer clay necklaces. If that’s the case, plan out your colors and the tools you’ll need. You may even sketch an idea and keep it handy for later when you make your necklace.
4. Condition the Clay
Conditioning polymer clay makes it easier to work with. It also improves the strength and longevity of the clay. To condition clay, you can stretch, roll and work it with your hands. If you have large amounts of clay or it gets tiring to condition with your hands, use a conditioning and rolling machine. Fold the clay and feed it through the roller on different width settings.
If you’re working with multiple colors, start with the lightest then go to the more vivid and dark colors. Use baby wipes to clean your hands between each color to avoid mixing them. With all your clay conditioned before you begin, you can easily grab the colors you need and work more efficiently.
5. Preheat the Oven
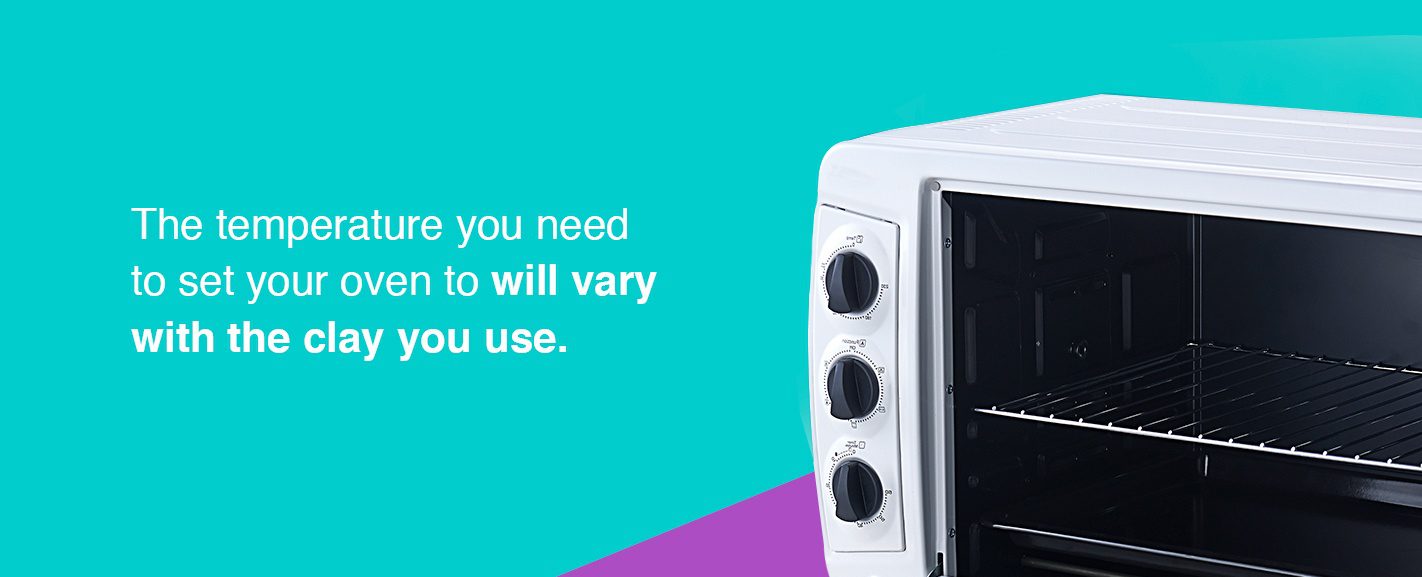
If you think you’ll be working with the clay for a while before you bake it, you can wait a bit before preheating your oven. The temperature you need to set your oven to will vary with the clay you use. Refer to the package instructions and adhere to these temperatures and bake times for Sculpey® clay: It is very important to use an oven thermometer to ensure your oven is at the correct temperature.
- Sculpey Soufflé™ and Sculpey Premo™: Bake at 275 degrees Fahrenheit for 30 minutes per quarter of an inch thickness.
- Sculpey® III: Bake at 275 degrees Fahrenheit for 15 minutes per quarter of an inch thickness.
- Liquid Sculpey®: Bake at 275 to 300 degrees Fahrenheit for 15 minutes to 30 minutes depending on the thickness of the piece. Bake Clear Liquid Sculpey® at 300 degrees.
When baking clay, you want an accurate temperature in your oven. An oven thermometer can give you a reliable read instead of trusting what you set on your oven.
How to Make Polymer Clay Necklaces
With everything prepped, it’s time to learn how to make polymer clay necklaces. Creating clay necklaces involves these key steps:
1. Prepare Your Clay
With the color or colors you need to create your clay necklace conditioned, you can roll, shape or sculpt the clay. Add textures, cut your shape or fill molds as needed. Use tools to smooth out cut edges and smooth out fingerprints or camouflage them with textures.
Let your creativity run wild with this step, especially if you don’t have a particular design idea in mind. This step is also where kids will have the most fun, playing with the clay and shaping it into anything they dream of.
2. Know How You’ll Turn It Into a Necklace
You can craft a clay necklace in different ways, but you’ll need to know how it will attach to a chain or cord. How you turn your clay creation into a necklace will depend on its design and the look you want for your finished piece of jewelry. If you’re making clay crafts with kids, you may want to handle some of these processes. Consider these ways to turn a polymer clay project into a necklace:
- A hole in the clay: This technique works best for flat pendants or beads. Beads will have a small hole running through the center for chain or cord to string through. Modern necklace styles may feature large cut-out statement shapes that you string onto a necklace chain. For a simpler and more traditional option, put a small hole towards the top of your clay creation. Once it bakes, you can add a jump ring and feed it onto your chain or cord. You can also bake the clay and use a hand drill to add the hole after.
- Eye pins: An eye pin is a straight piece of wire with a rounded end. The straight end goes into your clay, which means it should be thick enough so the wire doesn’t show or poke through. You’ll attach the rounded end to a jump ring and then to your necklace chain or cord. Some crafters cut the eye pin to the appropriate length, insert it into the clay and remove it before baking. They then use a strong adhesive that’s suitable for clay to hold the pin in place. Alternatively, you could put a small bend at the end of the eye pin, carefully insert it into the clay and bake it with the eye pin inside.
- Headpins: Headpins are pieces of wire with a flat part on the end, called the head, that acts as a stopper. To use a headpin to turn your clay into a necklace, insert the end of the wire without the head through the bottom of your clay. Be sure the headpin is long enough to stick out through the top end of the clay. Use jewelry pliers to create a loop at the top of the headpin that’s sticking out from the clay. The result is the shape of an eye pin with a stopper under your clay to hold it in place. Bake the clay with the headpin inside as directed.
3. Bake and Complete Your Clay Creation
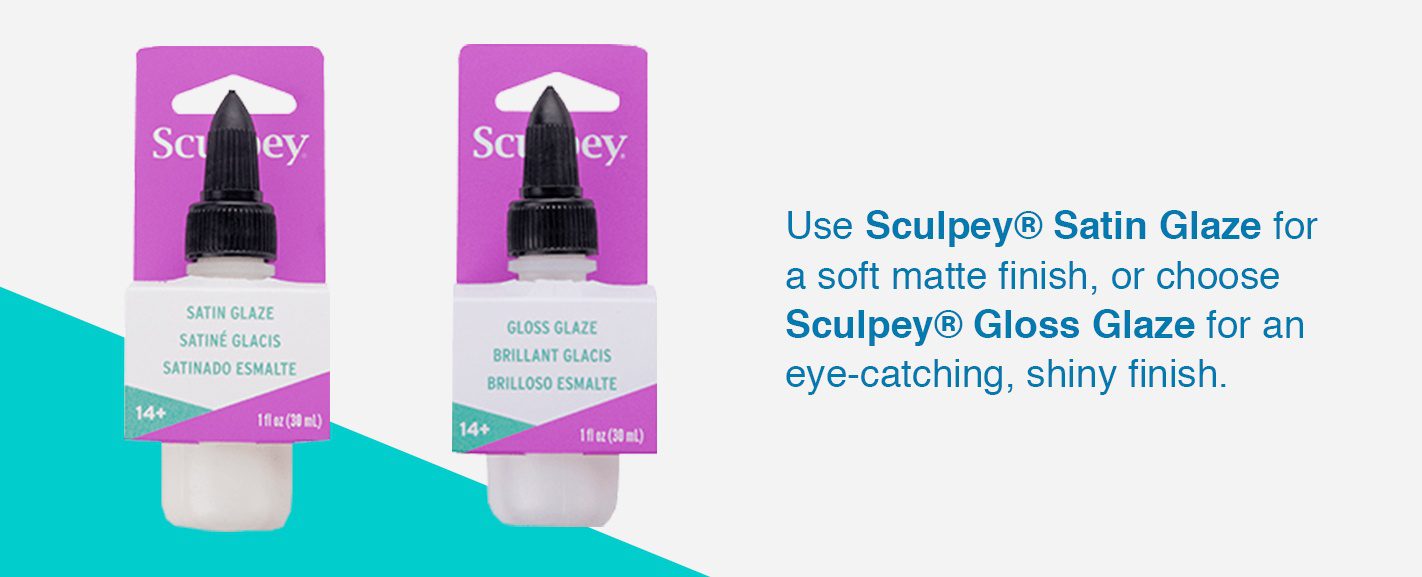
Once you prepare your clay and have it ready to turn into a necklace, bake it as directed. Allow the piece to cool fully, and then complete your creation. You may paint on details or glue additions you couldn’t bake, like rhinestones or plastic beads. If you want a more durable polymer clay necklace, add a seal or glaze to your piece. Use Sculpey® Satin Glaze for a soft matte finish, or choose Sculpey® Gloss Glaze for an eye-catching, shiny finish.
After the paint, glaze or glue dries, assemble your necklace. Jewelry pliers will come in handy to open and close jump rings or hold smaller necklace components as you put your creation together. Make sure you clamp any rings or other jewelry hardware shut to keep your clay creation secure.
Patterns and Techniques to Use for Your Necklace
If you’re stuck in the ideas stage of making polymer clay necklaces, you may need a bit of inspiration. There are plenty of patterns and techniques to use for clay necklaces, including the following:
1. Marbling

Marbled clay designs make for trendy necklaces. The technique mimics the look of marble with a base color and veins of other colors throughout. For a marbling pattern, you need at least two different clay colors to combine. Create a color palette for your marbled design with:
- A base color: Try a neutral like black or white for your marble pattern base. If you want something fun, pick a colorful base. You’ll need more of this color compared to your mix-in color.
- Mix-in colors: Choose one to a few colors to mix into your base. You may pick one color then a lighter or darker shade to combine for subtle details. Use less than the base to give the clay that marbled look.
You might want to avoid using complementary colors between your base and mix-in clays. These are colors across from each other on a color wheel — like red and green, blue and orange or yellow and purple. Mixing complementary colors together can create a muddy or brown result.
With your colors picked out, get different amounts of conditioned clay. Remember that the more clay you pick for a color, the more it’ll appear in the final pattern. Take the different colors and:
- Roll each color into individual ropes.
- Put the ropes side by side and twist them.
- Roll the twisted clay into a smooth rope.
- Fold the rope in the middle and twist it.
- Roll the twisted clay again.
- Repeat the twisting and rolling process, based on how thin you want the marbling to be.
Depending on how wide you need your marbled clay sheet to be, you can either flatten the rope with a roller or form it into a ball first. Balling up the clay will let you create a more square sheet, while flattening the rope will create a more oblong sheet. Be sure not to overwork and combine the base and mix-in colors, though. You’ll lose the veining detail and risk creating a more solid color.
2. Geometric
Geometric patterns are detailed, stylish designs that have a modern feel. Clay cutters will be useful for this technique to help you get uniform shapes. You can then try different ways of making a geometric design, like:
- Layering the shapes: Start with a base shape for your necklace charm. You can then layer on other shapes to create unique geometric designs. To attach the shapes, you can either bake them separately and glue them or use a bakeable glue on uncured clay.
- Creating a cane: Polymer clay canes are logs of clay with a pattern or shape that runs through the log. You can cut slices of the cane and have multiple charms or pendants with identical designs. To make a cane, you can roll out clay and wrap it in thin sheets of other colors. You could also create a triangle shape by putting together different rolls of clay. Cut the triangular log in half and put the pieces together to create a square log. Slice off layers for your necklaces and create matching pieces, like earrings. Check out our how-to page for clay caning ideas.
3. Sculpting

Use sculpting techniques to craft pendants or miniature sculptures to wear around your neck. This technique lets you tap into your creativity, and it may be a fun option for kids to try. Consider sculpting:
- Food: Mini food is a trendy clay project, and turning one into a necklace charm is the perfect way to show off your work. Follow helpful tutorials if you’ve never tried to sculpt food before.
- Animals: Depending on your craft style, you can either go for a realistic animal design or something more stylistic or cartoony. Either way, you’ll end up with a cute sculpted design for your necklace.
- Abstract designs: Create abstract or more geometrical 3D shapes to add to your necklace. These designs will make a more modern addition, and they can be easier for beginners to try.
4. Texture
Add dimension to your polymer clay necklace with texture. To achieve texture on your clay projects, you can explore:
- Texture sheets: Texture sheets add interest to sheets of clay and beads. You can then paint those details or enhance them with mica powders for handmade necklaces with a luxurious feel.
- Stamps: Stamp letters or other details into clay for tag necklaces or other textures. Leave the result as-is for a simple look or paint in or around the stamped design to help it stand out.
- Brushes: Stiff paint brushes or a clean toothbrush are perfect for stippling texture into clay. Add small dimples that create realistic textures for food or visual interest in abstract shapes and beads.
- Sponges: Add a subtle effect by using a clean sponge to press details into clay. The texture is an easy way to help cover up fingerprints that you may leave as you work with uncured clay.
Craft DIY Polymer Clay Necklaces With Sculpey®
When you want to craft stunning DIY polymer clay necklaces, choose Sculpey® products and tools. Make a statement, express yourself or give kids endless crafting potential with our range of clay options and colors. With Sculpey® polymer clay, anything is possible — if you can dream it, you can bring it to life with our flexible, durable products. Add our clay tools to your crafting process to unlock even more possibilities.
Shop our products today to find what you need to craft one-of-a-kind polymer clay necklaces with Sculpey®!