Working with clay is an enjoyable activity — but eventually, your tools will become pretty messy. You might find that your polymer clay tools start to get a little sticky and covered in gunk after some claying sessions. This clay residue can build up, making your tools feel a little gross and look dingy. You may have tried using soap and water and found that it just doesn’t do the trick.
Fortunately, there’s an easy secret ingredient that makes cleaning off your clay tools a snap, so they’re sparkling and smooth for your next crafting experience. Keep reading to find out how to clean your clay tools so you can get back to crafting.
Supplies You’ll Need for Cleaning Your Clay Tools
The supplies you’ll need to clean clay tools include:
- Rubbing alcohol
- An old towel or cleaning rag
- An old toothbrush
- An old bowl
This cleaning process will also require a lot of patience — depending on how dirty your tools have become, there may be a lot of scrubbing in your future. That said, the clean and stick-free results will be so worth it!
As you may have guessed, the secret ingredient in cleaning up polymer clay is rubbing alcohol, which has many uses in clay crafts, from smoothing out surfaces to removing pigment from your hands. It doesn’t need to be a high percentage, either — many of us can use the 70% isopropyl alcohol we have in the medicine cabinet.
Regardless of the percentage, rubbing alcohol breaks down the polymers in polymer clay, along with a range of other substances common in claying, like mica powder, alcohol inks and varnish. That versatility makes it an excellent choice for crafters, who are prone to getting these materials on every surface we work on.
In addition to being suitable for your tools, rubbing alcohol is also helpful for cleaning your hands and removing traces of pigment. If you’re working with several different colors, especially light-colored or white clay, keeping your hands pigment-free is essential to avoid color stains or discoloration. Instead of soaking a cloth in rubbing alcohol, you can use alcohol-based hand sanitizer for a quicker clean in between colors or after working with clay. Just be sure to avoid anything that’s heavily tinted that could affect the color.
Steps for Cleaning Your Clay Tools

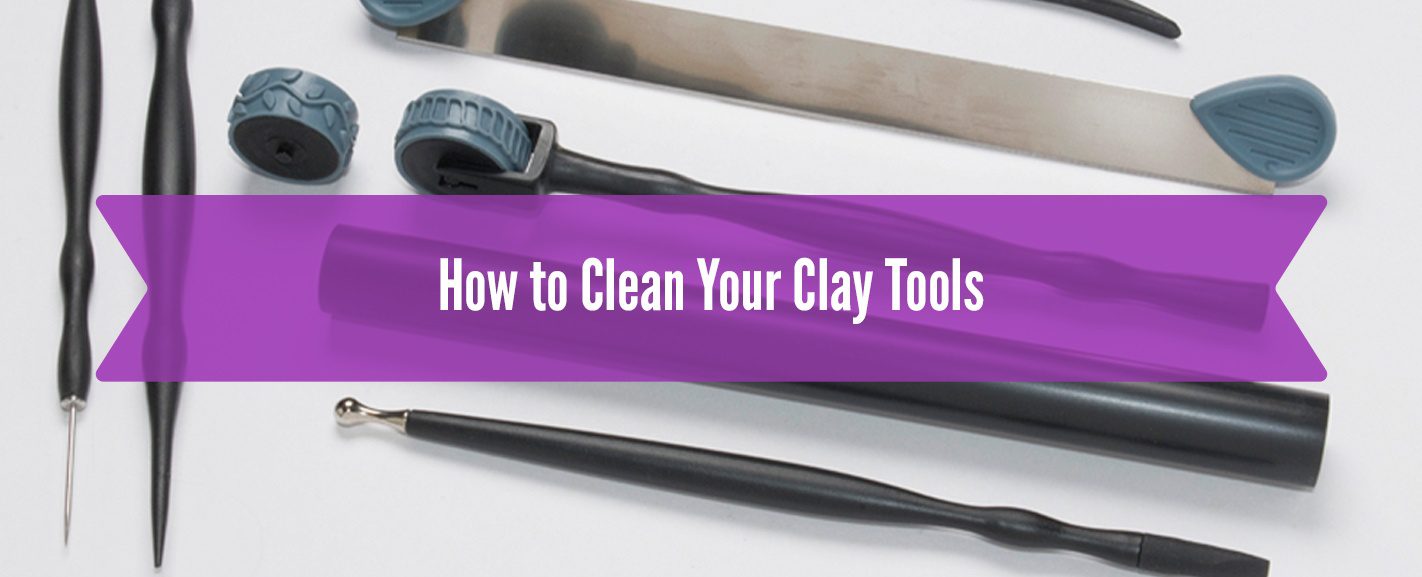
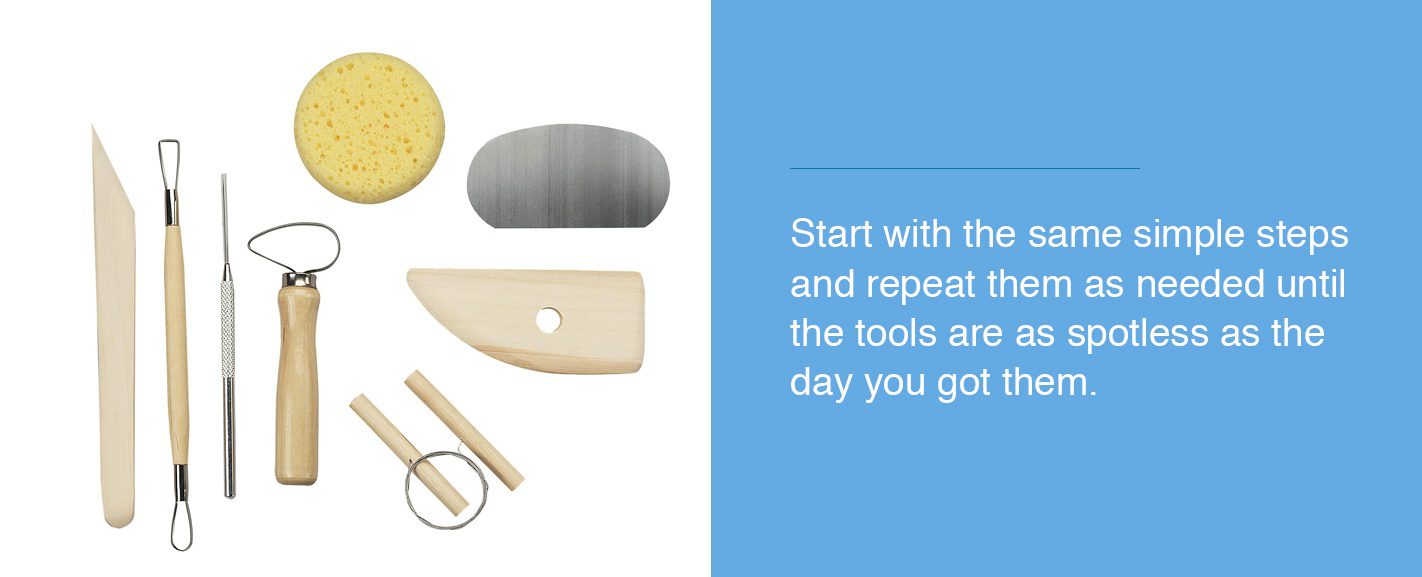
Now, onto the fun part. Getting all that grime and gunk off your tools calls for a bit of elbow grease, but the rubbing alcohol will make it easier and dissolve much of the residue. Regardless of how dirty your tools are, you’ll start with the same simple steps and repeat them as needed until the tools are as spotless as the day you got them. Almost any tool will work with this method, including cutters, knives and acrylic rollers.
To clean your clay tools, follow these steps:
- Soak your tool in rubbing alcohol: Grab your old bowl and fill it with rubbing alcohol. Submerge your tool in the rubbing alcohol for around 30 seconds to let it soak.
- Gently soak the cleaning cloth with rubbing alcohol and use it to remove buildup: Rub the cloth along the tool to remove as much buildup as you can.
- Use an old toothbrush to help brush off the buildup: Take that old toothbrush and start scrubbing to get into all the nooks and crannies. Textured tools might take more effort to clean.
- Let tools sit in rubbing alcohol again: Now that you’ve tackled the first layer of grime, it’s time to get to the next one by letting the tool sit in the alcohol once again.
- Repeat the process as needed: Rinse and repeat until your tools are shiny and clean.
This process works on most types of tool materials, including metal, plastic and glass. But what do you do with tools you can’t submerge into alcohol, like your trusty pasta machine roller? Soak a paper towel in your rubbing alcohol and run it through the machine. Wipe up what you can on the outside, and you should pull up most of the grime.
If you have tools you haven’t cleaned in years, the process will take a lot longer than it would with relatively new tools. You can avoid these labor-intensive cleanings in the future by taking care of your tools after each claying session. Simply fill up a spray bottle or mister with your rubbing alcohol and keep a cleaning cloth handy for wiping tools down after each use. This trick will keep them much cleaner over time and make your spring cleaning easier. Plus, it means you don’t have to fight with much grime in between cleanings.
Tricks for Dealing With Rust
Most clay tools are made of metal, which means rust is easy to come by. Getting rid of rust on clay tools is a different beast than polymer clay grime. Once this reddish substance shows up on your tools, you’ll have to take a different process to get rid of it and swap that secret ingredient of rubbing alcohol for vinegar.
- Soak the tool in a bowl of vinegar: Letting the vinegar soak into the rust will take more time. Leave it soaking overnight.
- Scrub the tool with steel wool or a metal brush: Get those stiff bristles into the crevices of the tool or whatever surface the rust is sitting on. It should scrape the rust off quickly and leave a shiny metal surface underneath.
- Rinse with water and dry: Use water to rinse off all the leftover rust residue and particles and use a towel to dry the surface. Rust likes water, so using a towel is key to avoiding rust in the future.
Rust is never ideal on your tools, and it can spread discoloration through your projects. Take care to keep an eye out for it and remove it whenever it appears. This effort will also help keep your tools in good condition, as rust can lead to deterioration and breakage.
Learn More About Claying With Sculpey
Whether you’re a seasoned pro or are dipping your toes into claying, Sculpey has everything you need for unleashing your creativity. Between a wide collection of tools, resources and inspiration, we’re here to help you bring all of your clay ideas to life and keep your tools in good condition for years to come.
Check out our collection of clay tools, including cutters, molds, knives and more, to build up your arsenal, and use these tips to clean your tools regularly. To get more ideas about what to do with all of your shiny, clean tools, explore our How-Tos!


