We’ve all been there — your polymer clay pieces cracked in the oven, or you added varnish and it didn’t dry properly. The good news is that you can fix most projects! We’ll show you how to salvage cracked clay, prevent tacky finishes and more.
Let’s dive into the most common clay finish problems so you can improve your current and future projects.
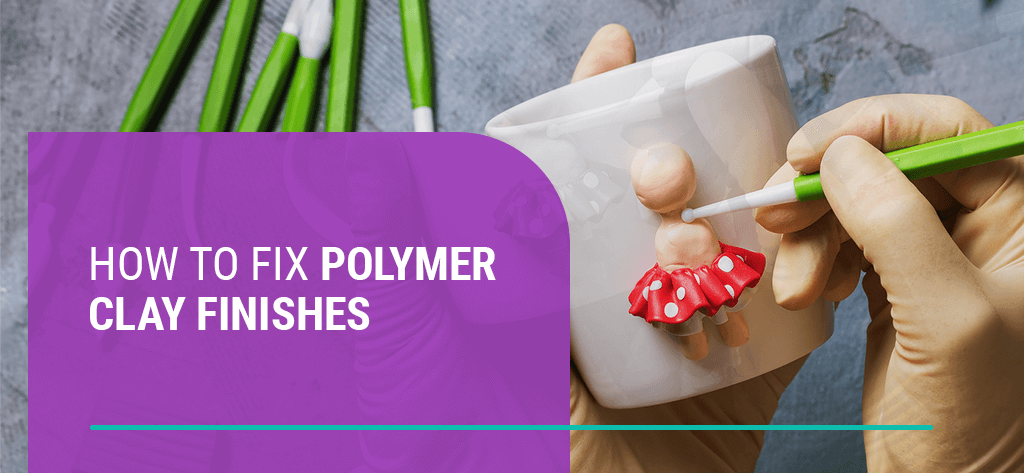
Types of Polymer Clay Finishes
Crafters apply different types of clay-compatible finishes to add protection, enhance color, add sheen and prime the surface for paint:
- Brush-on glaze: Add a satin sheen with Sculpey® Satin Glaze or a glossy shine with Sculpey® Gloss Glaze.
- Liquid polymer clay: Use a sponge to dab Clear Liquid Sculpey® onto the surface for a matte finish without brushstrokes.
- Floor finish: Water-based finishes like Varathane Gloss Floor Finish and Pledge Floor Gloss don’t react with clay and dry quickly.
- Varnish: Jacquard Pearl Ex Varnish and Varathane Polyurethane Satin are clay-compatible sealants.
- Polycrylic: This finish is usually clear when it dries, but applying it too heavily or on top of dark clay can leave a milky finish.
You don’t need to add a finish to seal the clay — baked polymer clay is durable and water-resistant, even without a sealant! Whether you leave a project finish-free or add a clear coat, we recommend smoothing the surface to remove fingerprints, imperfections, dirt and oils. Sand the baked clay with our wet/dry Sculpey Tools™ Sandpaper Variety Pack, then use a soft cloth, friction and heat to buff it smooth.
Common Polymer Clay Finish Problems
Perhaps after applying a glaze or varnish to your clay project and waiting the recommended dry time, you discover the finish has reacted strangely. Let’s break down how to fix clay finishes that didn’t cure according to plan and why the problem occurred in the first place:
- Air bubbles in glaze: Bubbles in glaze or varnish are typically caused by shaking the bottle or globbing on a single coat that’s too thick. Shaking formulas introduces air into the liquid before application. If you notice a few bubbles in your finish, pop them with a toothpick before baking.
- Cracks in the sealant: If cracks appear after adding a glossy varnish to a baked piece, there are two main causes — sunlight or finish type. Exposure to direct sunlight for too long can cause the finish to turn yellow and, in severe cases, crack. Or the finish simply wasn’t compatible with your clay type.
- Cloudy finish: Perhaps your varnish turned hazy after drying. Cloudiness occurs due to moisture, clay incompatibility or reaction with surface dirt and oils. If your Sculpey® Gloss Glaze or Clear Liquid Sculpey® pieces are cloudy, hit them with a heat gun for a few minutes to turn the mediums crystal clear.
- Finish peeling and separation: Maybe your varnish dries and starts to peel away from the clay surface. Finishes separate from clay for various reasons — formula incompatibility with the clay type, not enough coats, an unclean clay surface, heat exposure or humidity.
- Plaques or “moonies”: Flat, bubble-like imperfections mean your translucent clay project has plaques — moon-shaped marks formed from gasses that collect during the baking process. These marks occur when the clay is unconditioned, too thick or baked at high temperatures.
- Tacky finish after drying: Perhaps the sealant remains sticky even after the recommended drying time, or it dries to the touch yet is now tacky days later. While varnish can react to the clay or surface oils, the most common reason for stickiness is air moisture, inhibiting the curing process.
- Glaze pooling in crevasses: Adding sealant to a clay creation with lots of texture and different detail thicknesses can be tricky. Glaze pooling can occur when you apply the finish too quickly or too thickly, resulting in the liquid collecting in the recesses.
- Matte varnish dries shiny: After applying a matte varnish, it might dry to a high shine. This is a common mistake, and the solution is simple — be sure to mix the varnish thoroughly. Matte varnishes must be mixed well before use because the matte particles fall to the bottom of the bottle if it rests on the shelf for a long time.

How to Fix Polymer Clay Problems
Fixing clay finishes isn’t the only possible project issue. Polymer clay projects can also encounter problems with the clay itself or the baking process. Let’s identify, prevent and solve common polymer clay problems, from breakage to burning:
- Avoid air bubbles in the clay: Those clay lumps or small round holes are visible air bubbles. The thin top shell of the domes will break if poked, leaving divots. Air bubbles in polymer clay are caused by a lack of proper conditioning, resulting in trapped air pockets. Prevent bubbles by conditioning clay before shaping.
- Harden still-soft clay: If pressing a fingernail into the surface leaves a permanent indent or touching the clay leaves a fingerprint, the clay is not completely cured. Too-soft clay wasn’t baked long enough or at the correct temperature. You can always bake your clay again if it’s not entirely done the first time! Check and adjust oven settings, return the clay to the oven and monitor closely to prevent overbaking.
- Strengthen brittle clay: The clay is weak if slight pressure on your cured piece results in clay breakage. Brittle clay is caused by lack of plasticizers, baking at the wrong temperature, baking too long or not baking long enough. For durable, supple clay, use a few drops of Sculpey® Liquid Clay Thinner & Softener and condition thoroughly with our Sculpey Tools™ Clay Conditioning Machine.
- Prevent darkened clay: If the clay bubbles during the baking process or areas turn out discolored, brown or black, the clay has burned due to the oven temperature being too high. Light brown project bottoms indicate the need for a paper barrier between the clay and the baking surface. Burnt clay cannot be undone, but you can prevent future darkening by lowering bake temperatures, using our Sculpey Tools™ Oven-Safe Work Mat and placing card stock or parchment paper under projects.
- Repair cracks and breakage: Your project might get tiny stress fractures, large cracks or breakage. If you used older, dry polymer clay, it likely cracked due to depleted plasticizers. Even fresh clay can crack if it isn’t conditioned or baked correctly. Skip trying to add new clay to the cracks to rebake because the clays won’t adhere properly. Instead, fix broken pieces and cracks with clay dust and glue. Take a piece of baked color-matched clay and use a rasp or coarse nail file to shave fine clay particles. Mix the dust with two-part epoxy glue to create a paste, or use plumber’s putty. Fill cracks and sand smooth after curing.
20 Tips to Prevent Clay Finish Problems
Set yourself up for success with these proven clay shaping, baking and finishing tips from Sculpey®:
- Soften dry, brittle clay with clay softener or thinner.
- Always condition your clay thoroughly before shaping.
- Make sure clay pieces are even thicknesses for even baking.
- Bulk out with foil or add an armature to thicker clay projects and figures.
- Add oven-safe supports under extended clay parts of your project before baking.
- Place a heavier-weight paper under your clay to prevent a shiny or browned bottom.
- Always follow package instructions for your specific clay type.
- Use an oven thermometer for temperature accuracy.
- Be sure to preheat your oven before adding clay.
- Use a conventional oven or toaster oven for baking clay — never a microwave.
- Bake clay on an oven-safe, polymer-clay-compatible surface.
- If the clay is not cured after baking, bake again until hardened.
- Set a timer for short increments to avoid over-baking.
- Wait until your project is completely baked and cooled before adding a finish.
- Always sand and buff your clay after baking and before sealing.
- Apply varnish and other sealants in a dry environment — humidity can affect finishes.
- Only use recommended finishes that are compatible with your polymer clay type.
- Always stir — never shake — your sealant before applying.
- Apply two to three thin coats of finish instead of only one thick layer.
- Let each finish coat dry thoroughly before adding a new coating.