
Mixing clay can often seem like a big job and when you need to mix a lot of it, it can be tiring and put a lot of strain on your hands and tools.
Below I will explain why I mix my clay and the method I use for mixing it quickly and easily.
Why mix clay?
There are several reasons why you may want to mix clay rather than using it straight from the packet, and these are some of the reasons why I like to mix things up:
- I very rarely use clay straight out of the packet. I sometimes want to change or mix a colour I don’t have, or I want the clay to feel firmer or softer. Different clays have different properties so I like to mix them together to get the colour, texture or firmness blend that I need for each project.
- I don’t like unnecessary waste, so add all my scrap clay to a glass jar. This periodically needs to be sorted into colour groups and mixed together to create new usable clay.
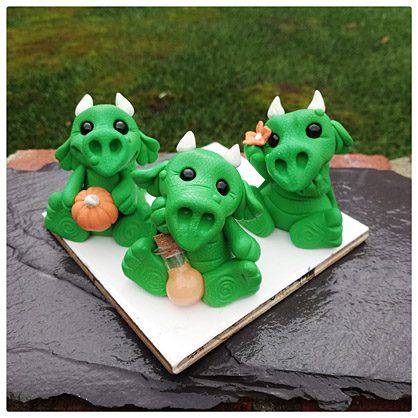
- I like to mix Super Sculpey beige with different quantities of white and translucent, or brown and translucent to create different skin tones for the dolls and figures I make.
- I love the feel of Super Sculpey beige, but I prefer to work in other colours, especially when I’m making larger sculptures. A tinted clay is great for making textured sculptures where I still want the main clay colour to show. I can then enhance this texture by dry brushing paint onto the surface. I often mix Super Sculpey Beige with brown, green, red, blue or black Premo to give me a nice muted colour. This also makes the colour go a lot further.
- There are also times where I need to mix old and dry clay with some softener and/or softer clay to get it usable again.
The tools needed.
Mixing clay can take a lot of time and put a lot of strain on your hands and tools, especially when mixing a large quantity. Over time I figured out a method that works well for me, and I can now mix a lot of clay quickly and with minimal effort.
My must have tools for this job are:
- My Sculpey Super slicer blade and cutting mat
- My four-blade food chopper with glass or metal bowl (for easy cleaning)
- My pasta machine/clay roller with motor attachment.
I love the sharp Super slicer blade with handles. This blade allows me to cut and slice my clay cleanly and easily.
When it comes to using a food chopper, I prefer the four-blade version over mini, two-blade, plastic ones. It’s easy to clean and seems to be stronger than the smaller ones, allowing me to chop several blocks of clay at once without the fear of breaking the centre spindle. The added benefit of using a food chopper is that the friction warms the clay beautifully, making it easier to condition and mix together.
The motorised pasta machine is probably my favourite tool next to the chopper. The use of the motor to condition and roll my clay has reduced my arm and shoulder fatigue significantly and allowed me to work much faster. It has also freed up my other hand so that I now have more control over long ribbons of clay.
These are the steps I use to mix my clay.
- Using the Super slicer blade, cut the blocks of clay into manageable pieces and add these to the food chopper. I have been able to add up to four standard sized blocks of clay at a time (chopped up of course).

Turn on the food chopper which will chop the clay into really small pieces, while also warming it up so that it blends and starts to stick together. It will look a bit like clay gravel.

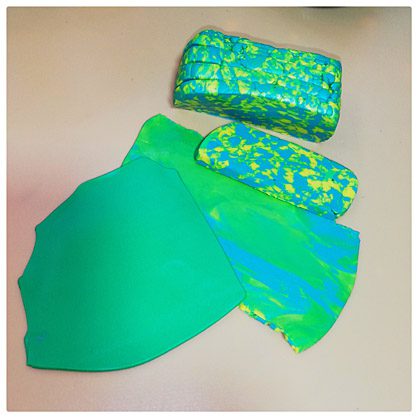
Remove all the clay from the food chopper, being careful not to cut yourself on the blades, and form the clay into a block or sausage shape.

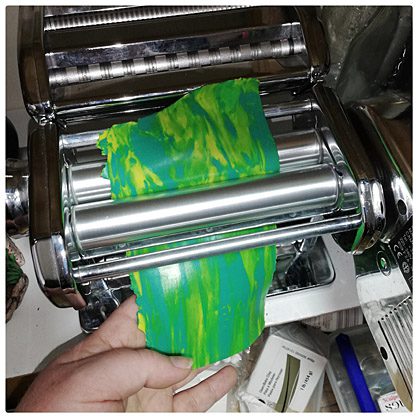
Using the Super slicer blade, cut the clay into slices that will easily fit through the pasta machine.

Run each slice through the pasta machine until the colours have blended together, and stack one on top of the other. To ensure that the colours are thoroughly blended, you can form the slices into another block, then slice and put through the pasta machine again. This step can sometimes be left out if you feel the clay has been mixed sufficiently.

You should now have a workable block of clay in the colour or blend of your choice, ready for your next project.
My Favourite blends.
I love creating dolls and small sculptures, and covering boxes and jars. These are a few of my favourite blends:
- A 50/50 mix of Sculpey Soufflé and Sculpey Premo! This gives a lovely firm and silky blend for small character sculptures, and I find that I have fewer surface cracks from baking.
- A 50/50 mix of Super Sculpey Beige and Super Sculpey Firm grey. I can’t always get medium Super Sculpey clay, but always have these two in my studio. A 50/50 mix of the two creates a blend with a medium firmness, in a lovely mid tone grey, which is perfect for sculpture work that will need painting later.
- A mix of Super Sculpey Beige and varying quantities of white Premo or white and umber Premo is great for creating different doll skin tones.
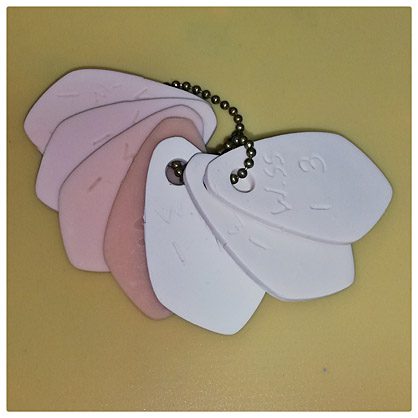
I’ve made little clay colour tags with the mix ratio inscribed or written onto the clay, to help me keep track of my mixes, so that I can always remember the ratios used, and I can always get the same colour each time.
Happy claying!
