
How to Smooth Polymer Clay
Polymer clay is forgiving, but fingerprints, bumps, smudges and hairs have a sneaky way of embedding themselves on the surface of your piece. Many clayers and crafters have a toolkit of techniques for smoothing oven-bake clay and keeping pesky imperfections at bay. Most of these strategies are pretty easy and don’t require any expensive tools. We’ve put together a list of tips for smoothing polymer clay creations of all shapes and sizes.
When Should You Smooth Polymer Clay?
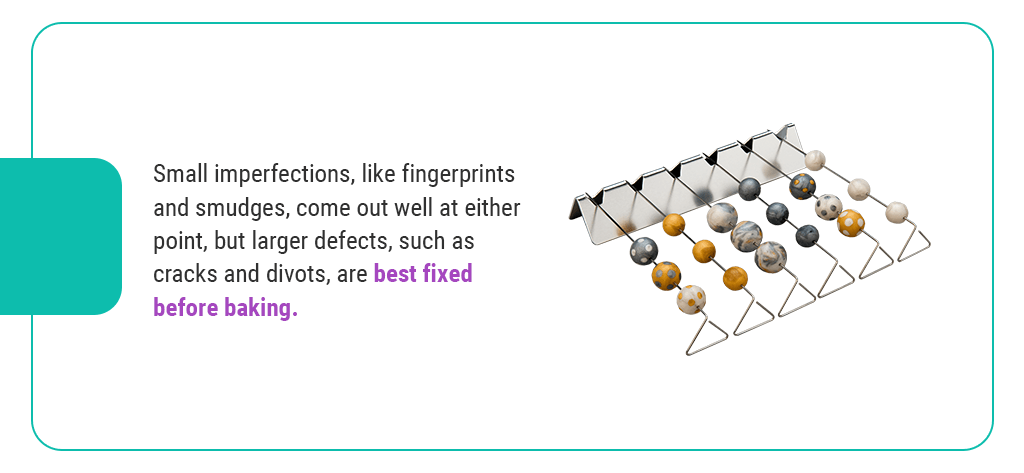
You can smooth polymer clay before or after baking. Small imperfections, like fingerprints and smudges, come out well at either point, but larger defects, such as cracks and divots, are best fixed before baking. You can sand off many of the smaller markings, but structural issues would require extra material, and clay doesn’t adhere very well after it cures. It isn’t impossible, however, so check out tip No. 7 in the list below for more information on smoothing cracks after baking.
Of course, deciding whether to smooth your clay is a matter of preference, but many people like the result. Whether you’re making jewelry, sculptures, crafts or something in between, a smooth surface typically offers a more polished, neat appearance. Still, fingerprints and bumps can add a personalized touch to your clay piece, and you might want to leave them in if you’re going for that homemade feeling.
Remember that baking can sometimes accentuate textural imperfections such as fingerprints, so if these are present, you may want to plan on sanding the piece.
How to Smooth Oven-Bake Clay and Prevent Smudges
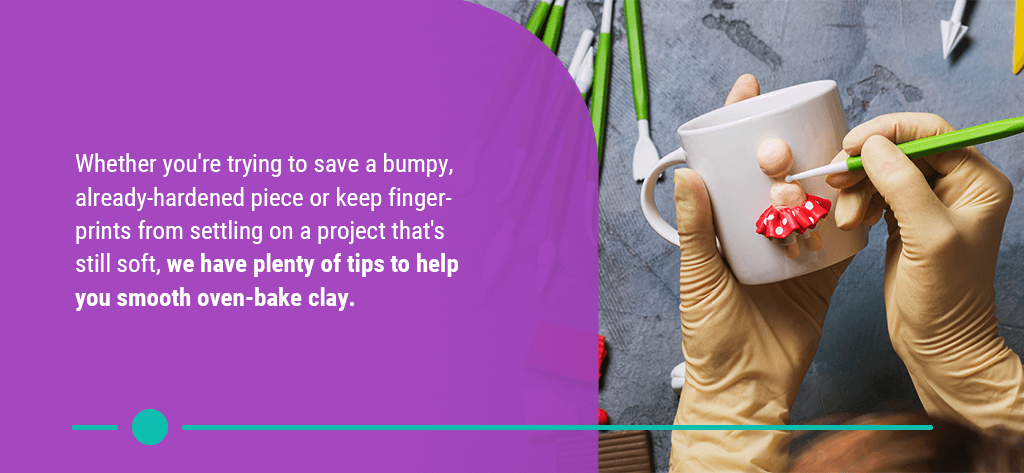
Whether you’re trying to save a bumpy, already-hardened piece or keep fingerprints from settling on a project that’s still soft, we have plenty of tips to help you smooth oven-bake clay.
1. Condition Your Clay
For smooth pieces, start with well-conditioned clay. The process of conditioning clay makes it supple and easier to work with. As you condition it, you’ll evenly distribute the ingredients in the clay so it readily responds to your hands or tools. Unconditioned clay could be too firm to work with. Cracks become more likely, and creating a smooth surface will be more difficult.
To condition your clay, knead it by hand or use a pasta machine. For stiff clay, you can also add some Oven-Bake Clay Softener or Clay Softener & Thinner. Be careful not to make your clay too soft, which can make imperfections show up more easily.
2. Use Sandpaper
Sandpaper is a popular method for removing imperfections on polymer clay after baking. You’ll need a piece of wet/dry sandpaper, which can be used with water. Water prevents clay dust from going into the air and avoids creating scratches that are too deep.

When choosing your sandpaper, you’ll start with a lower number and work your way up. The lower the number, the coarser and rougher the grit. A coarse grit can get rid of deeper imperfections, but it will rough up the surface more. To get rid of that roughness, you follow it up with a finer grit with a higher number.
Polymer clay sanding should start at a much higher grit than some other crafts, like woodworking. Our Sandpaper Variety Pack, for example, starts at 400 grit and goes up to 1,000. These finer grits allow you to get rid of imperfections and achieve a beautiful matte finish on your piece.
If you’re working with a complex piece with hard-to-reach areas, you might even use a Dremel tool. It has a rotating tip that you can use with sanding accessories to reach into small places.
To sand your polymer clay, put on a dust mask for safety, wet your sandpaper and rub it across the surface of your fully cured piece in small circles. Be sure to stop periodically to remove any built-up dust from the sandpaper and re-wet it. You can even sand your piece under a stream of water or in a container of water to keep the dust at bay.
When you’re done sanding, you may find yourself with a cloudy layer on the surface of your clay. You’ll need to buff it out, which we’ll talk about next.
3. Buff Your Piece

Buffing works like sanding but on a much smaller scale. It helps even out the minor surface texture created by the sandpaper. Simply grab a soft cloth, such as a piece of white denim or muslin, and rub it vigorously against the clay. Try to build up some speed, because friction and heat make this process work. If you’re using a Dremel, you can even find buffing wheels built for the job.
A hand-buffed piece of polymer clay will have a bit of a sheen to it, but it won’t be glossy. For the highest gloss, a buffing wheel will typically offer more shine. If you plan to seal your piece, buffing should be the last step before applying the sealant.
Sanding and buffing are great techniques for many different clay projects and work well on nearly any kind of polymer clay. They can offer particularly eye-catching results on metallic or translucent clays since they provide a smooth surface to emphasize their sparkle and shine.
4. Use Isopropyl Alcohol
Rubbing alcohol is a tried-and-true method used to remove surface imperfections on polymer clay. Simply dip a cotton swab or clean, quality paint brush in some rubbing alcohol and wipe it over the problem areas in your clay. It practically melts imperfections away, including textural markings like fingerprints and unwelcome additions like debris and hair. Since it evaporates quickly, it doesn’t leave any residue. For the best results, use a higher concentration, such as 91% or 99%, but lower concentrations can still work well.
While isopropyl alcohol is safer than some other solvents, you’ll still need to work in a well-ventilated environment, minimize skin contact and use only what you need.
5. Choose Quality Clay
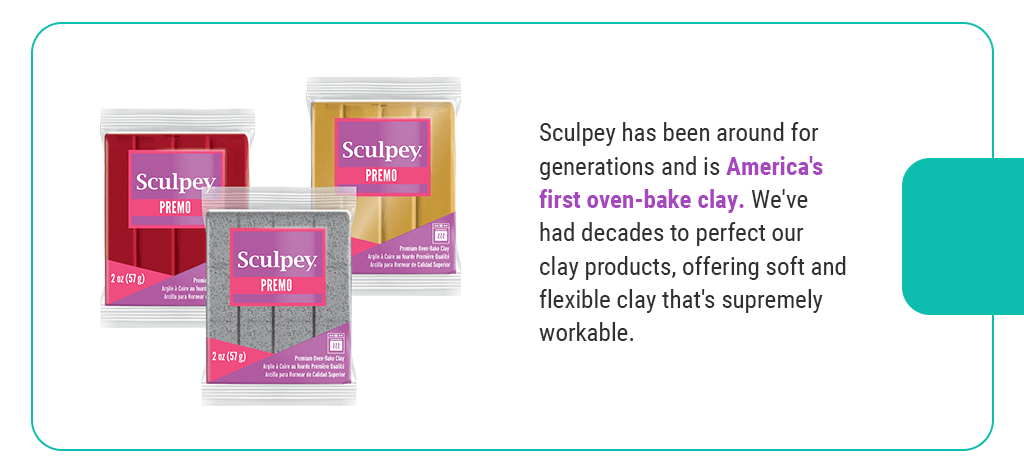
Making polymer clay is a science, and the right combination of ingredients is essential. Good clay will work better, making it easy to mold and bake. Start your project with a fresh block of clay from a trusted brand for the best results. Sculpey, for example, has been around for generations and is America’s first oven-bake clay. We’ve had decades to perfect our clay products, offering soft and flexible clay that’s supremely workable.
6. Add a Glaze or Finish
Adding a glaze or a finish over your piece can help even out minor imperfections. Glazing a sanded piece will give you the smoothest results, and a sanded surface can help the glaze adhere better. Try to fix any larger imperfections before applying a glaze, because it can accentuate them. For example, glaze might cover a light fingerprint but put a deeper scratch in sharp relief against an otherwise smooth surface. Still, glazes are a great way to cover up small variations in the surface texture.

Choose Satin Glaze for a subtle sheen or Gloss Glaze for high shine. Translucent clays can especially benefit from glossy glazes, which make the clay look clearer.
Use multiple thin layers when applying your glaze to ensure it goes on uniformly. Thick layers can settle inconsistently or look bumpy. Thin layers can help avoid air bubbles and “pockets” of uncured glaze and ensure better adhesion to your piece. Give your coats plenty of time to dry before applying the next one.
You can also use paint to finish and smooth polymer clay. Thicker paints can help cover imperfections, but you’ll still want to apply a few thin layers. You can paint your piece after baking, and some paints can even be baked with the clay for better adhesion. You can use a standard coating of paint to cover up surface defects, but you can also use paint for antique finishes or interesting textures that make use of the imperfections.
7. Repair Cracks With Putty
Some imperfections, like fingerprints and bumps, are easy to fix after baking, but others are best corrected before you put your clay in the oven. If a crack or a divot appears during baking, it’s a little harder to fix but still doable.
Don’t try to fill in the crack with a new piece of clay and rebake it. The piece won’t adhere to the already-baked clay, which can also brown due to the added bake time. Instead, follow these steps:
- Condition a small piece of clay with the same color as the original piece and bake it.
- Use a rough nail file to shave the cured piece down into a pile of clay dust.
- Mix the dust with a two-part epoxy glue to make a putty and press it into the cracks.
- Let the putty harden, then sand and smooth the edges.
If you plan to paint your creation, you can use store-bought plumber’s putty instead. Press it into the crack, let it dry, sand it and paint your piece to disguise the repair.
8. Put Mineral Oil or Cornstarch on Your fingers

These household ingredients can help you fix and avoid surface imperfections. Mineral oil or cornstarch can prevent your hands from sticking too much and causing prints and markings. Mineral oil works like a clay conditioner, adding some oils back in to soften the clay and help it blend together. Cornstarch creates a silky soft layer between your fingers and the clay, filling in gaps.
Try dipping your fingers in either substance before working with your clay. Make small, light circular motions to rub out any imperfections. Don’t rub cornstarch in too much to avoid creating a filmy layer or embedding it in your clay. If you don’t have mineral oil around, you can also try baby oil, but avoid any strong fragrances or products with additional ingredients like moisturizers.
Although it might seem simpler than mineral oil, don’t use water to smooth polymer clay. Water can cause your oven-bake clay to become brittle.
9. Wear Gloves
The right pair of gloves can make fingerprints in clay a thing of the past. Grab some snug-fitting latex or nitrile gloves and use them when working with your clay. If the gloves are too loose or keep bunching up, try finger cots. They’re made of similar materials but roll over individual fingertips for a better fit.
10. Use a Rotating Base
Another way to minimize fingerprints is to avoid touching your piece as much as possible. Get a rotating base like a Lazy Susan or clay turntable. For some kinds of projects, such as sculpting, these tools can help you reach more angles without picking up your piece and risking marks. They can also help you gain a steadier hand and use certain techniques. For instance, you can hold a carving tool in place and turn the base to get a perfectly straight line.
11. Practice Using a Light Touch
This technique may take some time, but using a lighter touch can help you avoid imperfections in the first place. If you’re heavy-handed with your clay, you may create more marks than you’d like. During detail work, try to be gentle and light. Focus on using multiple light movements rather than a few vigorous indentations.
12. Make Sure Your Clay Cures Completely
If your clay isn’t completely hardened, you could unintentionally create new indents and marks after you’ve baked it. You could leave fingerprints when taking it out of the oven or weeks later when you pick it up. Polymer clay stays soft until it’s baked, so this step is essential.
Here are a few simple polymer clay tips for making sure it cures completely:
- Use an in-oven thermometer to make sure it reaches the right temperature.
- Always check the instructions for the type of clay you’re using, as some require different temperatures or times.
- Preheat your oven before putting the clay in.
- Make sure your clay cools completely before you work on it again.
- Monitor your clay closely while it bakes.
13. Use Tools
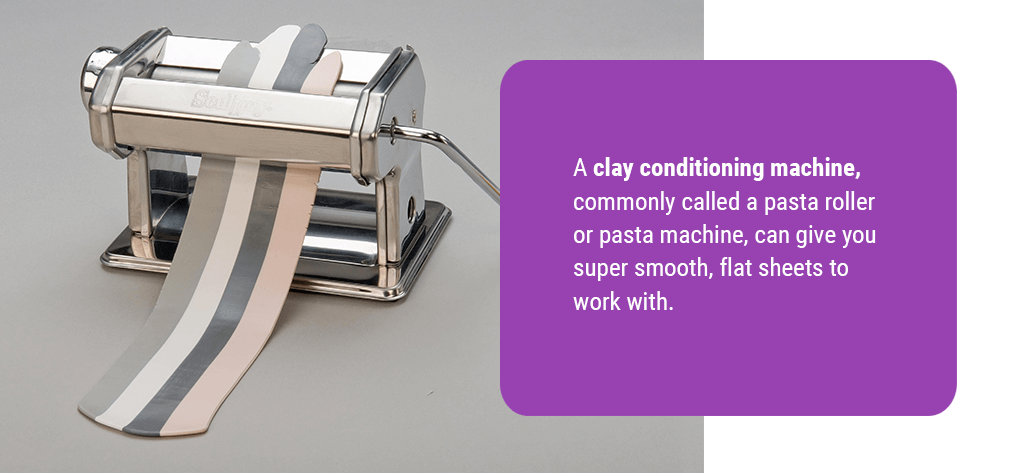
You can choose from a wide world of clay tools to help you smooth polymer clay. A clay conditioning machine, commonly called a pasta roller or pasta machine, can give you super smooth, flat sheets to work with, and an acrylic clay roller can help you smooth out surfaces, too. They’ll give you a great starting point for many different projects.
When it comes to detail work, the rounded edges and gentle curves of various clay tools can help you smooth the surface of your piece without trying to wedge your fingers into the right position. They typically have narrow handles to reach small spaces.
14. Burnish the Clay With Parchment Paper
Parchment paper is a great resource for bakers and crafters alike. It’s oven-safe and smooth, usually thanks to a light silicone coating on the paper. Plenty of clayers use parchment paper to keep their creations from sticking to a baking pan, but you can also use it to burnish your clay and achieve a smooth surface.
To burnish your clay, simply set a piece of parchment paper over the surface. Gently rub across the paper with your finger or the back of a spoon. You can use this technique to close up seams or remove other imperfections like fingerprints and bumps.
A quick word of warning — do not confuse parchment paper with wax paper. Wax paper has a slipperier surface and is not oven-safe.
15. Keep Your Clay Cool

If your clay is too soft, it will pick up markings, dust and other imperfections more easily. It may also be harder to work with. Clay can soften as you use it due to the heat from your hands, so many strategies for stiffening clay involve bringing down the temperature:
- Cool your clay in the freezer: Give your polymer clay a 10-minute timeout in the freezer. You can also keep a bag of ice nearby while you work. If the clay starts to soften, simply place it on the ice pack.
- Keep your hands cool: Run your hands under some cold water or dip your fingers briefly in some ice water to keep them cool. Dry them with a lint-free towel before returning to your work.
- Reduce the temperature in your room: Try working at cooler times of the day or turning on your air conditioning so the ambient temperature isn’t too hot.
- Work on a cool surface: Choose a work surface made of glass, marble or porcelain, which tend to stay cooler than other materials.
16. Use a Tumbler
Many jewelry makers use vibratory or rotating tumblers to smooth out clay. Often used for rock tumbling, these tools can sand and buff your items automatically. They don’t usually offer the same level of shine as hand sanding and buffing, but they’re an excellent way to save time since they can run in the background and accommodate large batches of items. If sanding hurts your hands, a vibratory tumbler can also help you avoid the task while creating a gorgeous shine on beads.
A tumbler uses an abrasive media mixed in with the beads. As the chamber rotates or shakes, the media bumps up against the beads and wears imperfections away in a smooth, even manner. You can use many different items as your abrasive media, but many clayers like to use chips of sandpaper. Simply cut your wet/dry sandpaper into small squares and keep them separated by grit. Then, add the same grit sandpaper and beads into your tumbler and add just enough water to cover them before running the machine.
Using a tumbler is best for pieces without many fine details. Play around with different abrasive media and tumbling times to see what works.
17. Add Texture
A great way to get around the need for an ultra-smooth surface is to texture it on purpose. You can add subtle textures by pressing items into the surface, such as a piece of fabric or aluminum foil, or you could go bold with tools and texture sheets, like our Nature Texture Sheets or Geometric Texture Sheets. Deeper textures help cover up larger defects such as divots, cracks and bumps, while shallower textures are good for hiding fingerprints and small scratches.
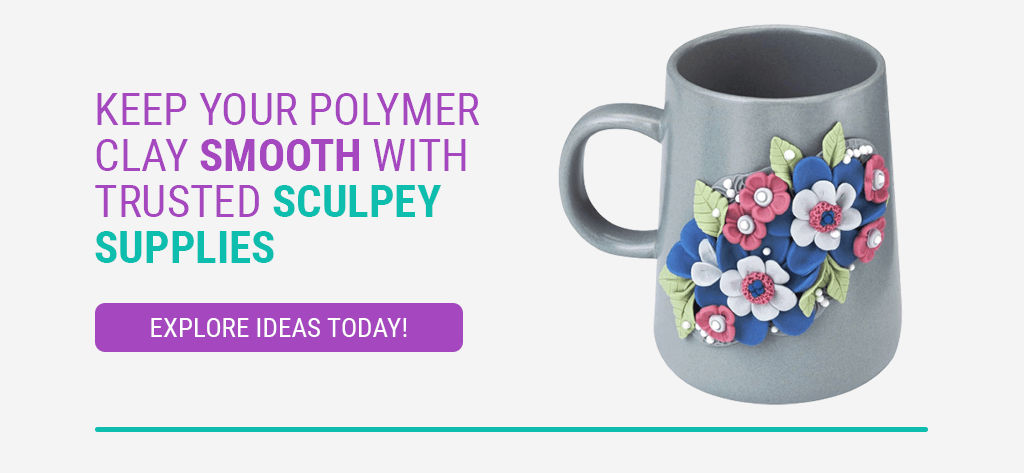
Keep Your Polymer Clay Smooth With Trusted Sculpey Supplies
Smoothing out fingerprints, smudges, dust, dirt and other imperfections can make your polymer clay creations more polished and professional. Many techniques and strategies can help you keep your polymer clay smooth without much hassle. At Sculpey, we make tools and high-quality polymer clay to make achieving smooth surfaces easy. Our blog is also packed with how-to guides and tutorials to help you master different clay techniques like smoothing.
Explore our workable oven-bake clay or versatile tools today, or look through our blog for more ideas!
