As you explore all the different types of polymer clay products to use at home, you may notice one that stands out from the rest because, unlike the rest, it comes in a bottle. You may be wondering what you can do with this exciting liquid version of clay, and the answer is quite a lot!
Learn how to make jewelry, window clings, home décor, embellishments and so much more using liquid clay. This guide shows you how with liquid clay basics, step-by-step instructions and project tips.
What Is Liquid Clay?
Liquid polymer clay is precisely what its name describes — polymer clay in a unique liquid form, available in a squeeze bottle with a flow-control twist cap for controlled application. In its unbaked state, it behaves much differently than its solid counterpart. Liquid clay is oven-bakeable, just like regular polymer clay, and cures to a flexible form.
Types of Liquid Clay
With so many colors and finishes to choose from, the projects you can create with Liquid Sculpey® are endless:
- Matte: Embellish clay and draw outlines with our matte-satin Liquid Sculpey® Black. Mix our Liquid Sculpey® Multi-Pack – Primary colors in blue, yellow and red to create custom shades.
- Granite: Mimic the look of natural stone with Liquid Sculpey® Greige Granite. This neutral, grayish-beige liquid clay has organic-shaped dark flecks to resemble real granite.
- Metallic: Jewelry makers adore our Liquid Sculpey® Gold, Silver and Copper Metallic liquid clays. Design on-trend accessories with Liquid Sculpey® Glam Metallics in rose gold and bronze, or add dazzling color with our garnet and navy metallic options.
- Pearl: The unique luster of our Liquid Sculpey® Pearl finish offers a hint of sparkle. Add a pop of blue with Liquid Sculpey® Peacock Pearl, perfect for ice queen accessories and magical mermaid tails.
- Clear: If you’re seeking a crystal-clear alternative to resin, look no further than Liquid Sculpey® Clear. This incredibly clear compound bakes to a satin finish and develops a glossy coating when you hit it with a heat gun after baking.
- Translucent: Our Liquid Sculpey® Translucent is a colorless liquid clay that allows light to pass through the clay, yet it’s not entirely see-through like our clear liquid clay. Bring tortoiseshell and faux amber looks to life with our honey-colored Liquid Sculpey® Translucent Amber clay. Use Liquid Sculpey® Translucent Turquoise to mimic sea glass, or tint our translucent liquid clay to any hue you like.
What Is Liquid Clay Used For?
Liquid clay has tons of uses! You can use liquid polymer clay to:
- Attach: Adhere polymer clay pieces to glass, metal and wood.
- Bond: Connect two pieces of unbaked or cured clay pieces, like a bakeable “glue.”
- Cast: Create duplicates for jewelry and embellishments using silicone molds.
- Cling: Design stained glass looks, reusable mirror decorations and window clings.
- Drizzle: Swirl chocolate, caramel and strawberry effects on polymer clay food miniatures.
- Glaze: Add a varnish-like topcoat to finished polymer clay pieces.
- Layer: Create multi-level effects, such as sand, water and foam layers on an ocean-inspired pendant.
- Mimic: Replicate the look of natural stone with faux effects and pigments.
- Smooth: Reduce or remove textures, fingerprints and tool marks on polymer clay surfaces.
- Soften: Make stiff polymer clay softer and more pliable.
- Transfer: Add photos and printed images onto clay and other projects.
How to Use Liquid Clay
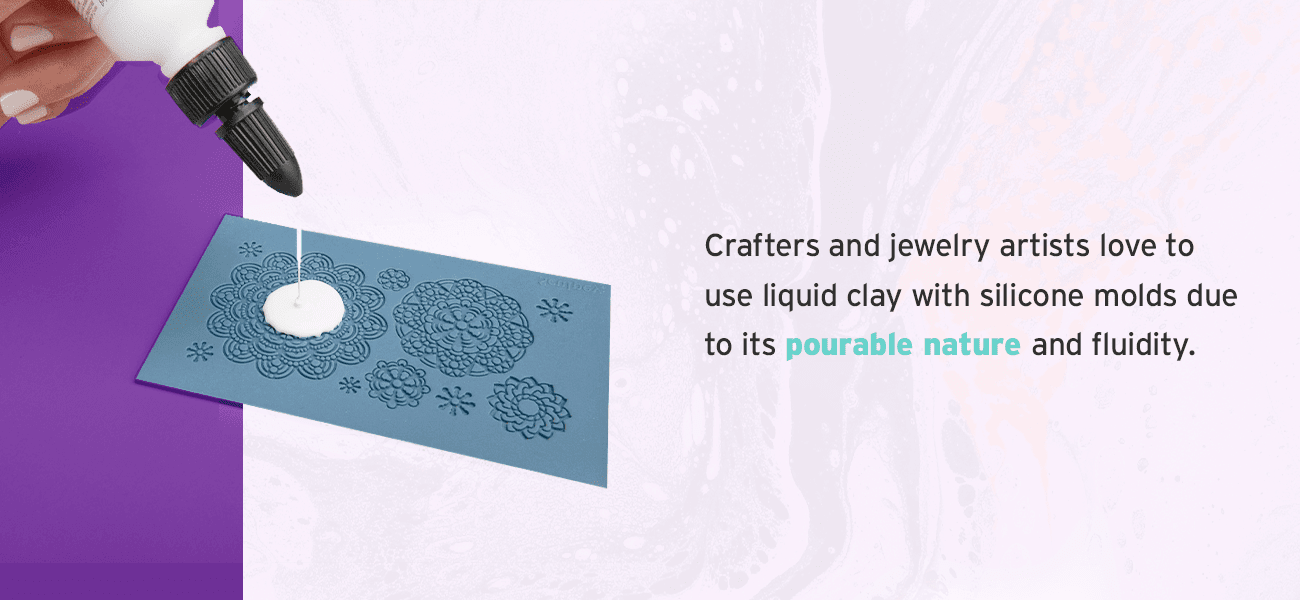
Crafters and jewelry artists love to use liquid clay with silicone molds due to its pourable nature and fluidity. You can also create beautiful designs straight from the bottle.
For best results, follow these steps to use Liquid Sculpey®:
- Remove the cap from the plastic bottle.
- Use a thin plastic or metal tool to stir the formula thoroughly. Avoid adding air bubbles, and make sure you scrape the sides and bottom for an even mix.
- Replace the cap. The Liquid Sculpey® bottle cap opening is adjustable. Twist it open just a little to make thin lines or tracings, or open it all the way to fill molds.
- If you’d like your liquid clay to be thinner for your unique application, add a few drops of Sculpey® Liquid Clay Thinner & Softener and stir in thoroughly.
- To adjust the color of liquid clay while maintaining translucence, stir in a few drops of alcohol ink.
- Add sparkle by mixing in various metal flakes, mica powders and glitters in different sizes.
Draw Designs Straight From the Bottle
Twist the cap open a tiny bit and gently squeeze to draw controlled lines, words and patterns. Drizzle Liquid Sculpey® directly onto a newly baked polymer clay piece that’s still warm from the oven to add swirls, zigzags, dots and other designs. The liquid clay will start to set up on the warm clay.
Add metallic embellishments to necklaces and write fun messages on vases. Once you’ve completed your design, pop it back into the oven for a few minutes at the directed temperature so it bonds to the polymer clay and cures.
Make Mirror and Window Clings
A typical application for liquid clay is to create faux stained glass panels and clings. Make your design on a piece of glass as your work surface. Because glass is nonporous and completely smooth, it ensures the final piece will easily stick to a mirror or glass. Follow these steps to get creating:
- Draw or print a template to trace lines. Place this under the glass surface.
- For a leaded stained glass look, use Liquid Sculpey® Silver.
- Open the bottle cap a little to draw a thin outline.
- Bake the outline according to instructions.
- Once the outline cures, flood each section with translucent colors.
- Bake again, let it cool, then peel your project off the glass.
Pour Liquid Clay Into Molds
Use oven-safe silicone molds to cast multiples of the same shape time and time again! Liquid clay can be poured directly into Sculpey® Polymer Clay Molds to produce earrings, bezels, pendants, geometric shapes, lace details and more. Here’s how:
- Fill the mold: For a mold with intricate details, flood the main area with a puddle of liquid clay, then use a squeegee to move the liquid clay into the shallow cavities. For a thicker mold, open the bottle cap all the way to fill the space with liquid clay.
- Remove bubbles: Pick up the silicone mold a few inches and gently drop it on your work surface a few times to tap it. This action brings air bubbles to the surface for release. Use a toothpick or needle tool for popping any visible bubbles.
- Bake the clay: Follow the instructions on the packaging to bake the liquid clay in its mold. Once it cures and cools, pop out your clay project and continue crafting!
How to Bake Liquid Clay
To cure your Liquid Sculpey®, preheat your oven according to product instructions. Use an oven thermometer to check temperature accuracy. Turn off the oven’s convection feature to avoid creating ripples in your project from the fan movement. Bake the clay at the recommended temperature for 15 to 30 minutes. Always bake Liquid Sculpey® Clear at 300 degrees Fahrenheit for the most transparent results. Translucent and colorful liquid clays bake at 275 degrees Fahrenheit.
5 Liquid Clay Tips
Use liquid clay like a pro with these tips from seasoned clayers:
- Mix without a mess: When mixing clay in a bottle or cup before adding it to a mold, always use a plastic or metal stir stick. Avoid using a paintbrush or wooden stick. The stickiness of the liquid clay and its inability to be washed with water makes wood and bristles challenging to clean, resulting in needing to throw them away.
- Add sparkle: Elevate your liquid clay game with light-catching add-ins! Pour clay into a plastic cup and add sequins or glitter in different shapes like stars, moons and leaves. Customize your translucent formulas with mica powders, pigments and eye-catching metal leaf flakes.
- Preserve objects: Suspend dried leaves, pressed flowers, spices, shells and paper cutouts in transparent liquid clay. Botanical details must be completely dried, as moisture can affect final quality. Fill a mold halfway with Liquid Sculpey® Clear and bake it, then place your object, fill the mold to the top and then bake again. Create mixed-media projects in layers using different objects and effects.
- Glaze polymer clay: Use liquid clay as a bonded glaze on your baked polymer clay projects. Use a brush, makeup sponge or fingertip to coat a baked polymer clay piece with liquid clay, then surface-set it with a heat gun for a few minutes. Bake it fully in the oven for 15-30 minutes following instructions.
- Store liquid clay properly: Keep liquid clays in their original packaging to keep out dust. Store liquid polymer clay in a cool, dry space away from direct sunlight. If you create a custom mixture of liquid clay with added glitter or powders, place it in an airtight glass or polymer-clay-compatible plastic container. Some plastics will react with clay over time, so be sure to keep it in a polypropylene (PP) plastic container with the recycling symbol #5 on the bottom.
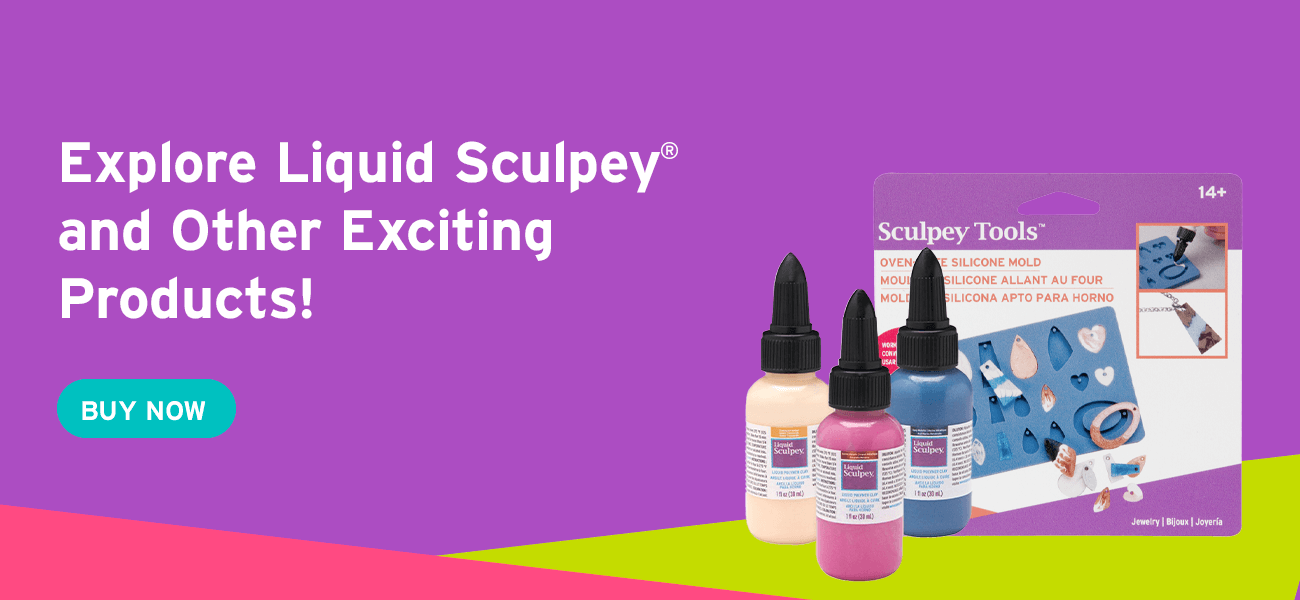
Explore Liquid Sculpey® and Other Exciting Products!
If you already love working with oven-safe polymer clays, then liquid clay is an excellent addition to your crafting stash to make even more unique items. And if you’ve never worked with clay before, Liquid Sculpey® is a fun place to start!
Sculpey® is proud to offer the best liquid clay products on the market in a wide range of transparent, translucent and metallic finishes. Shop our Liquid Sculpey® clays and silicone oven-safe molds today!